Overalls to dungarees
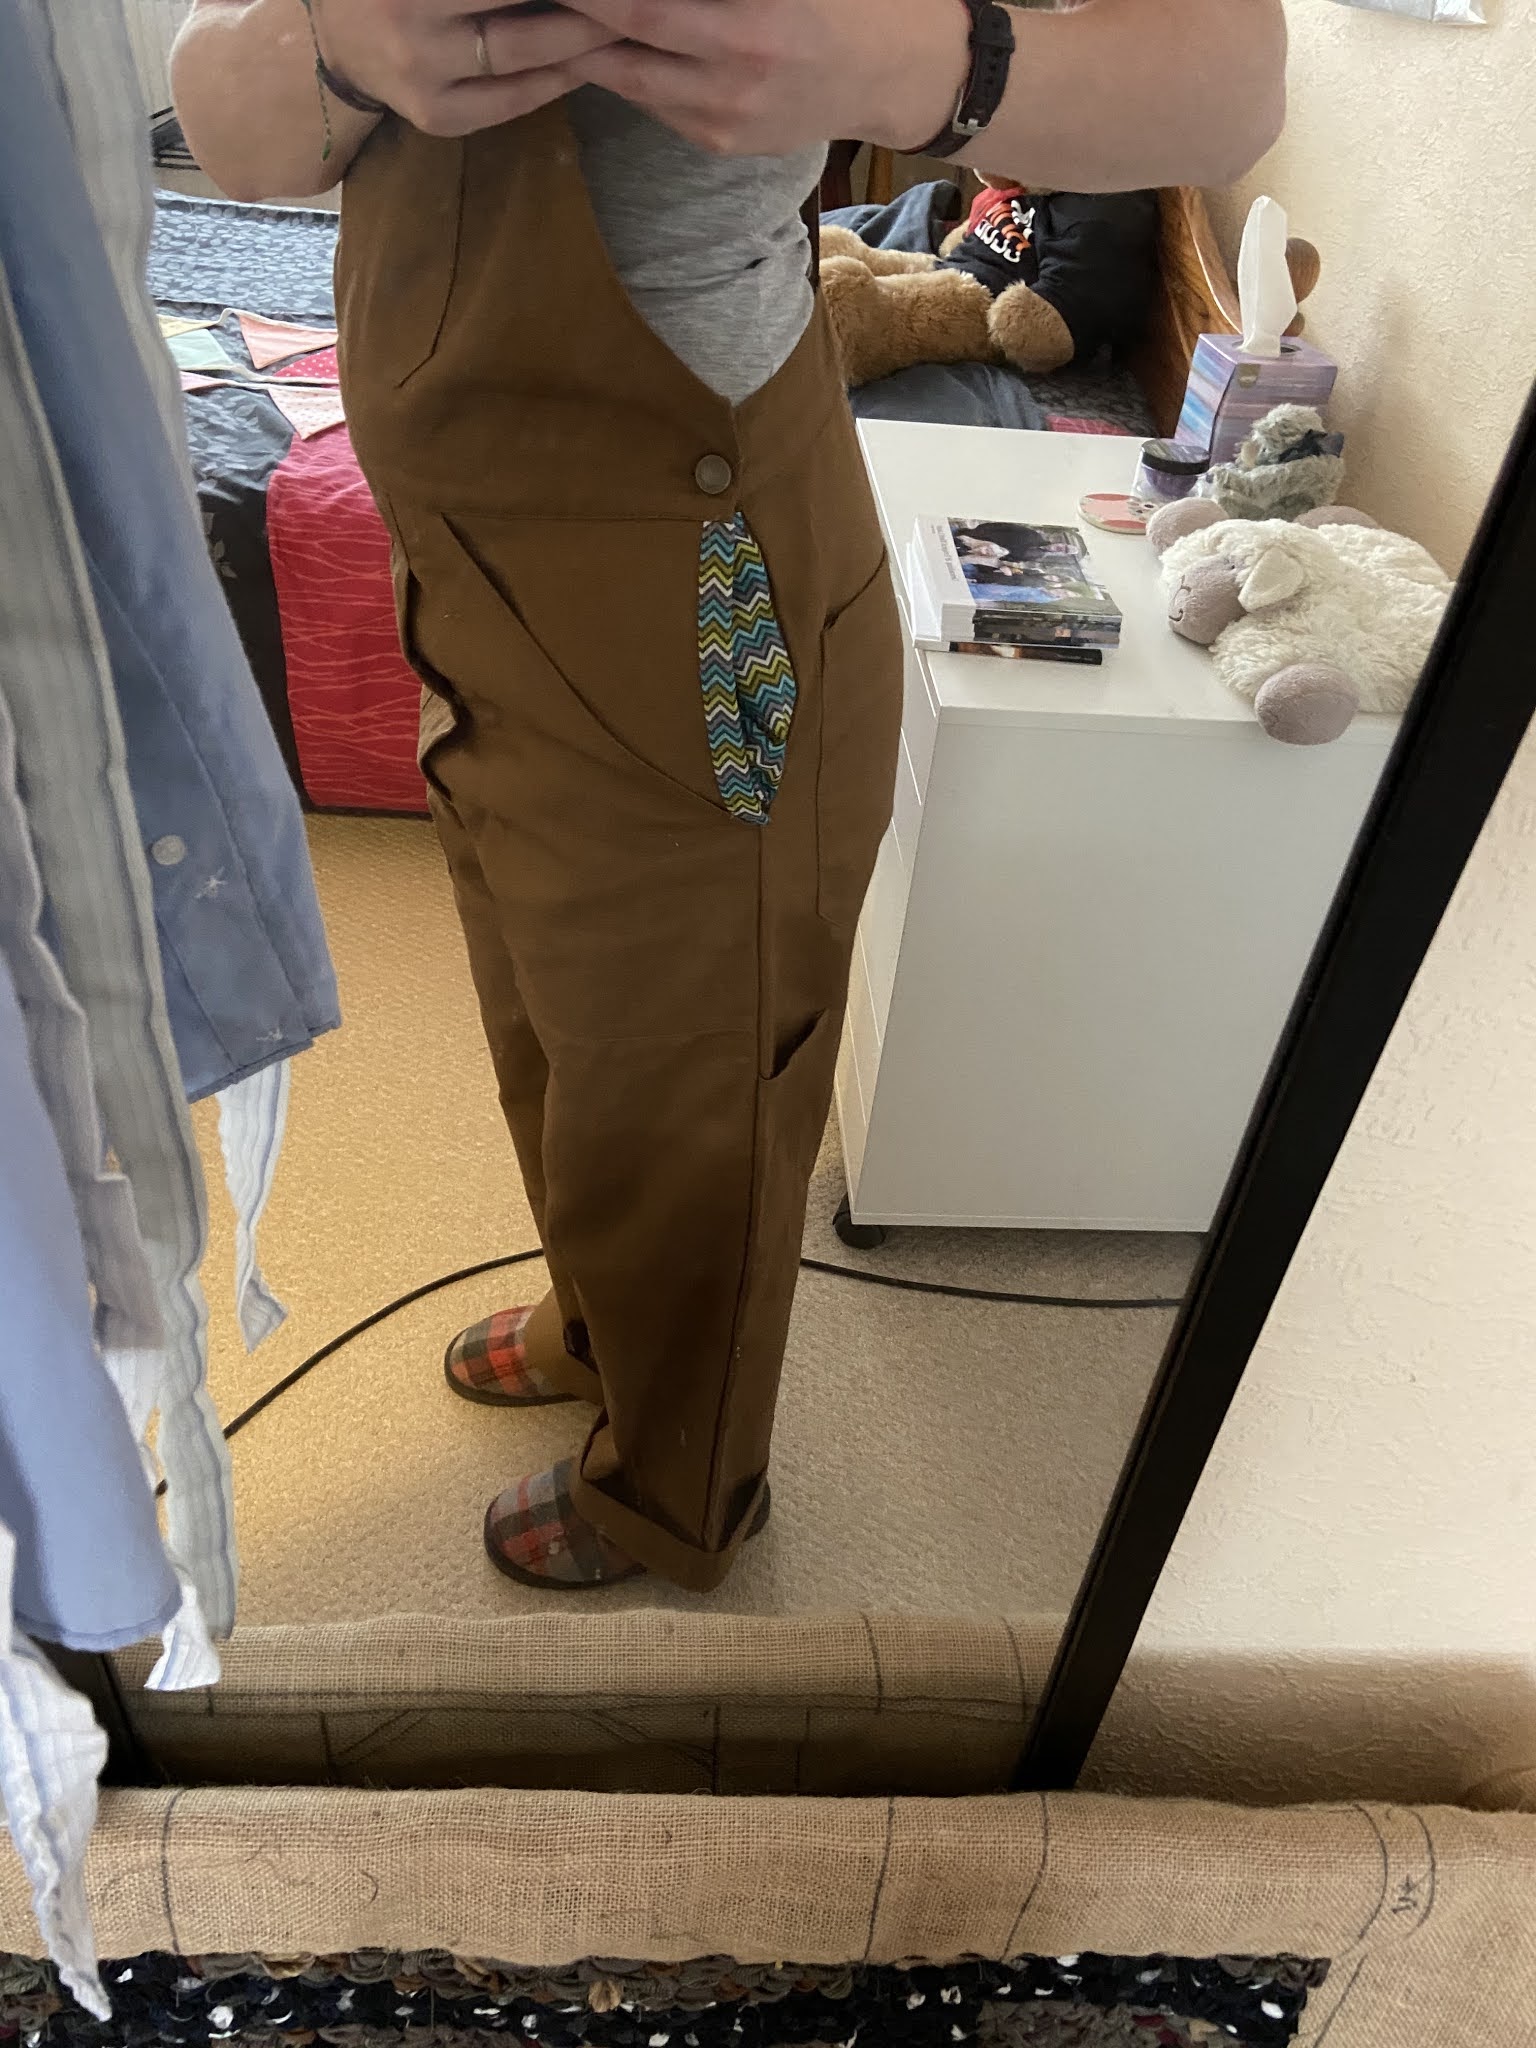
A few weeks ago Adam treated me to a new pair of overalls/dungarees. I love the colour of them - they’re a bit different to the denim ones that I’ve already got and have always had in the past. The only problem with them is that they are designed as more overalls than actual wearable dungarees. What I mean by that is that up the sides there is just 1 button to do up instead of 2 or 3 that would actually close up the gap. This meant that if/when I sat down in them it would gape apart and show off my pants. Not a great look!
The first part of the process wasn’t too tricky - turning the legs up to fit my little short legs. I got Adam to pin 1 leg at the right length then matched the second leg to the same length on my desk before stitching up each side seam to hold them at the correct length.

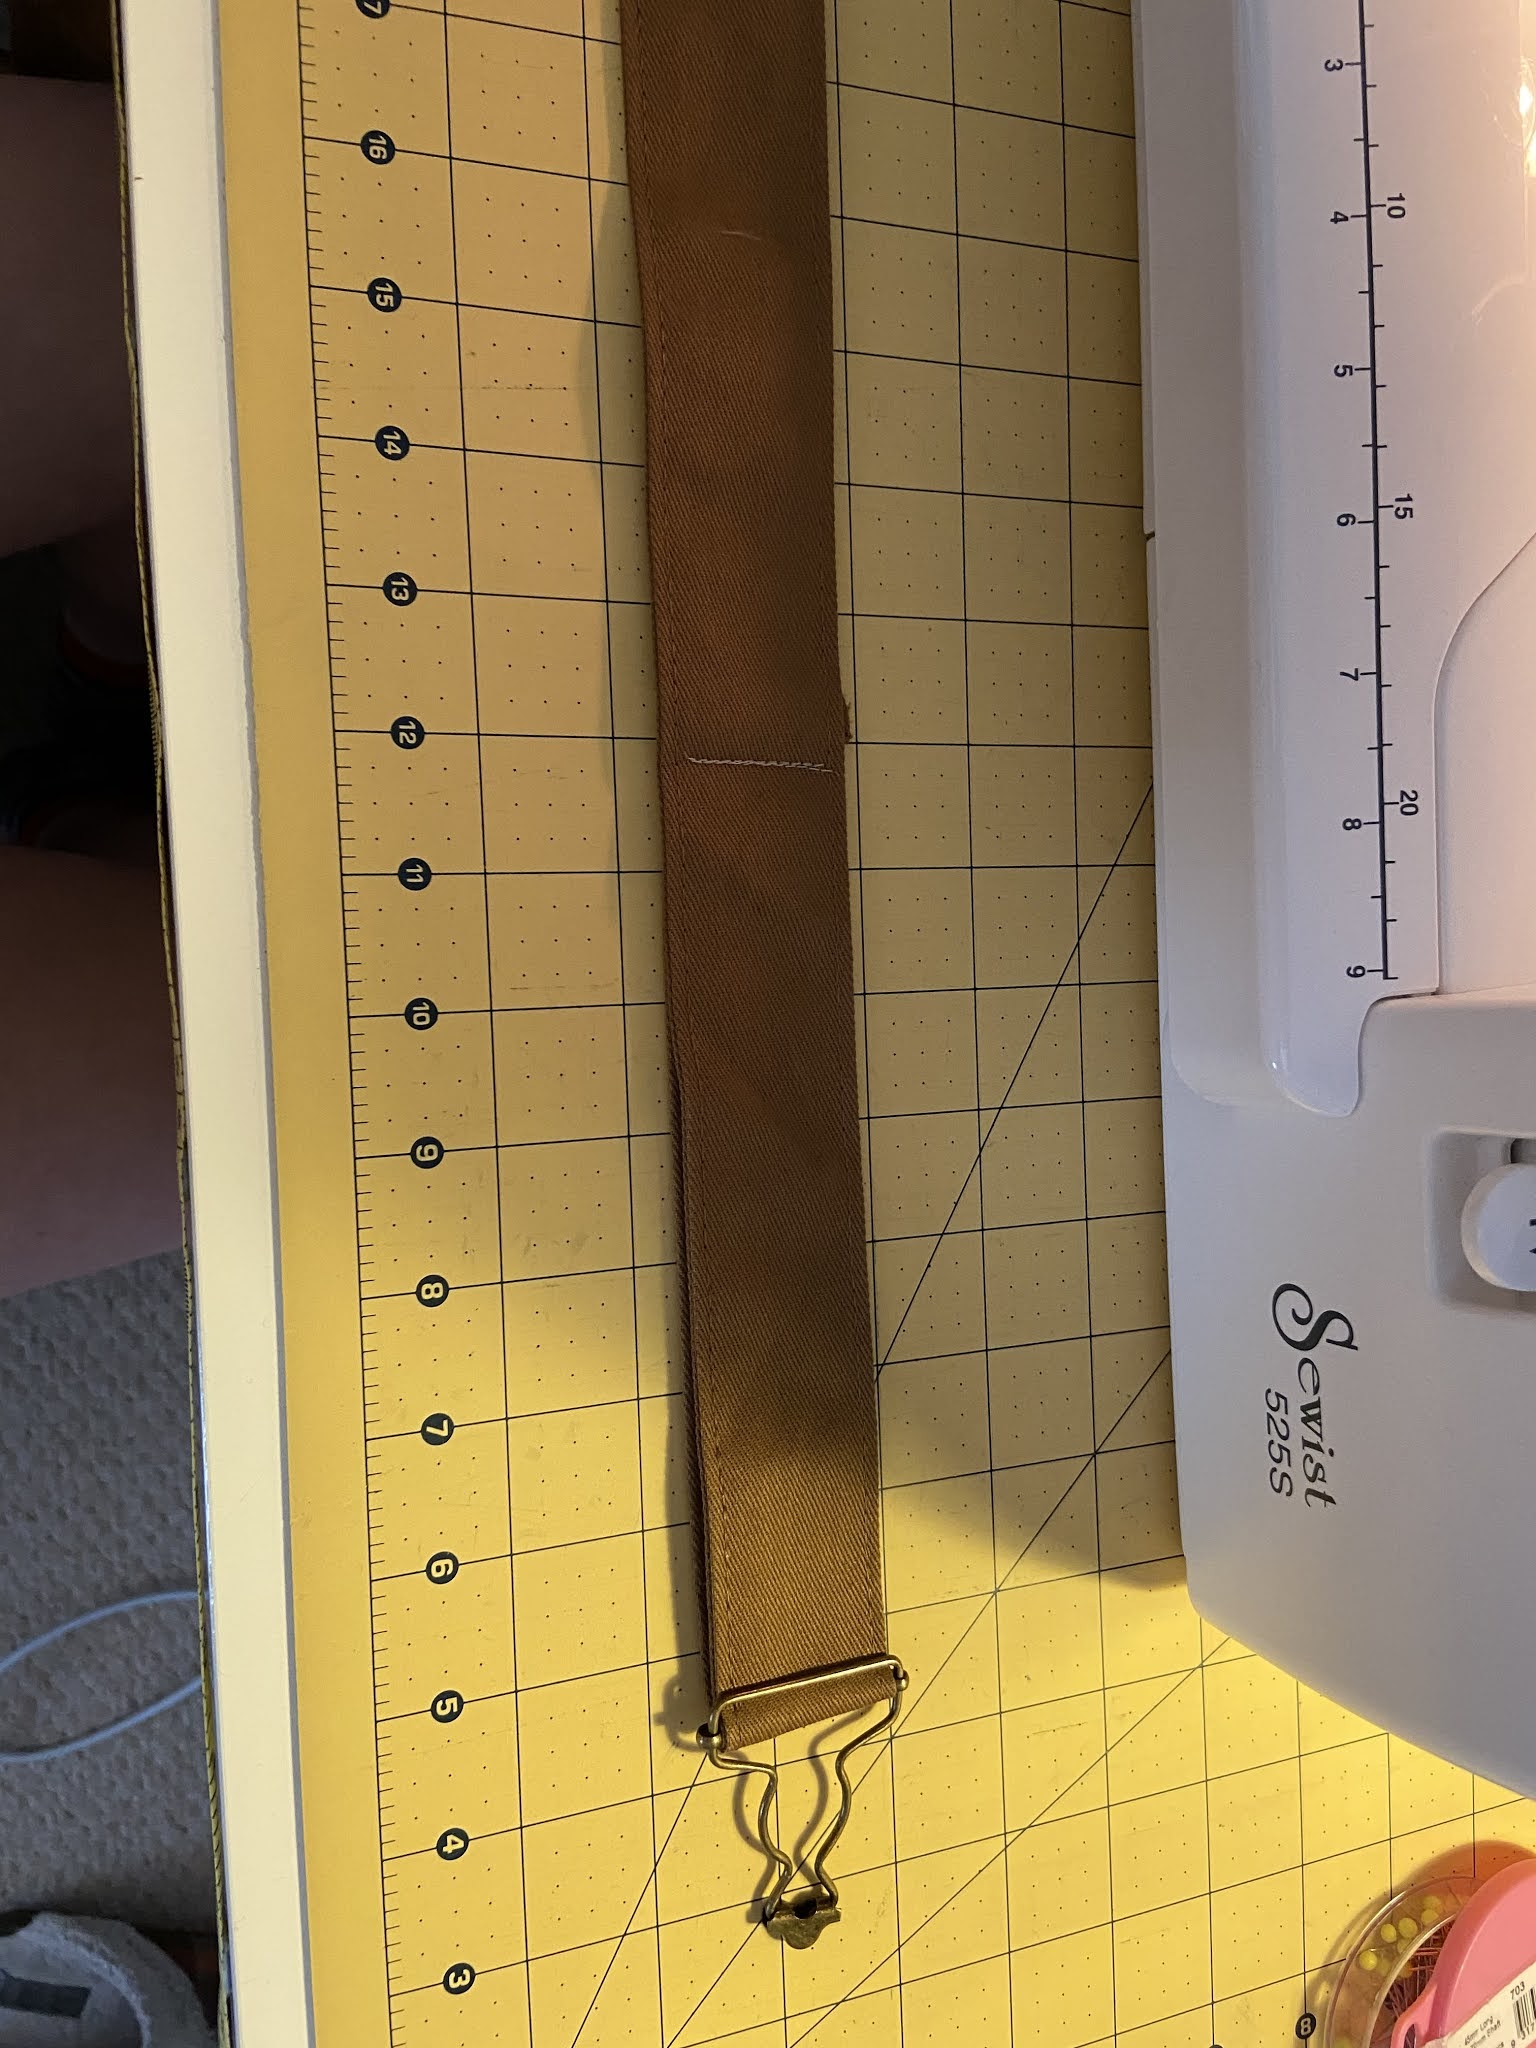
Next came to fixing the straps to the correct length too. Again I got Adam to pin 1 to the correct length so I could stitch this across to hold it in place. There were no little buckle things on the straps on these to hold the loose end in place and stop the straps from stretching out.


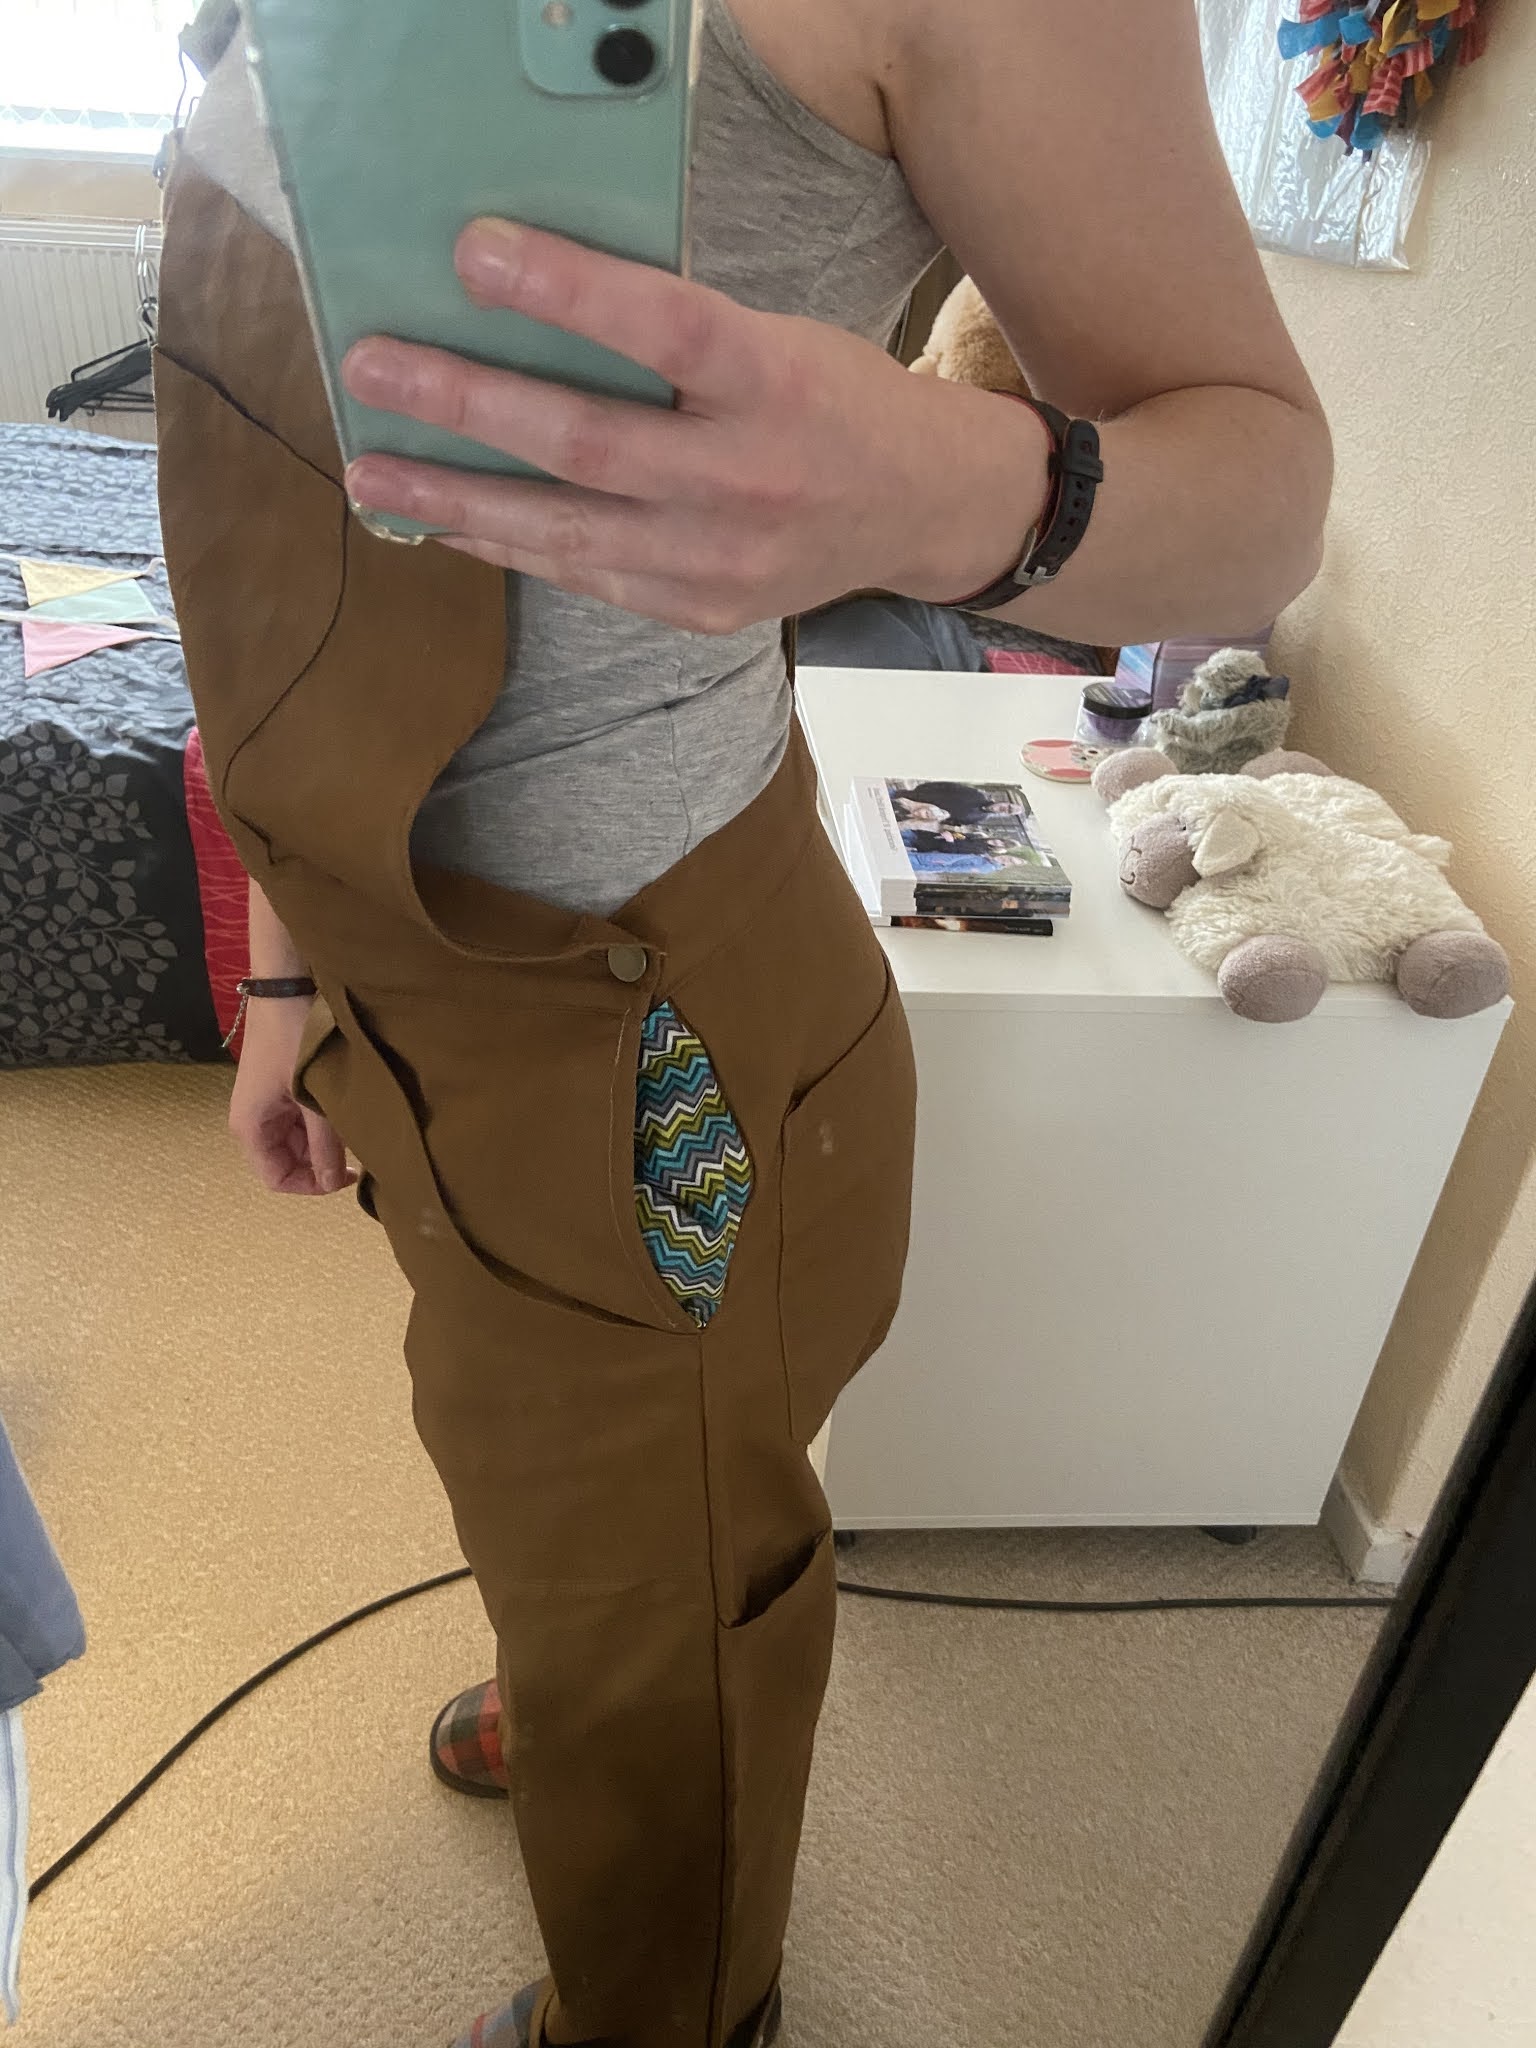
The big think that I really needed to do next was to find a way of sealing up the sides somehow. My other dungarees have 2 or 3 buttons at the side to hold them together so that I don’t flash my pants when I sit down but these only had 1 at the very top and then a big gap where they would open. I guess this is because they’re technically overalls so they need to be able to open wider to fit trousers underneath and it also wouldn’t matter then if they opened slightly as there would be no flesh on display. To make these more socially acceptable I decided to add a little triangular section to stop me flashing anyone if they were to gape as I sat down or anything.
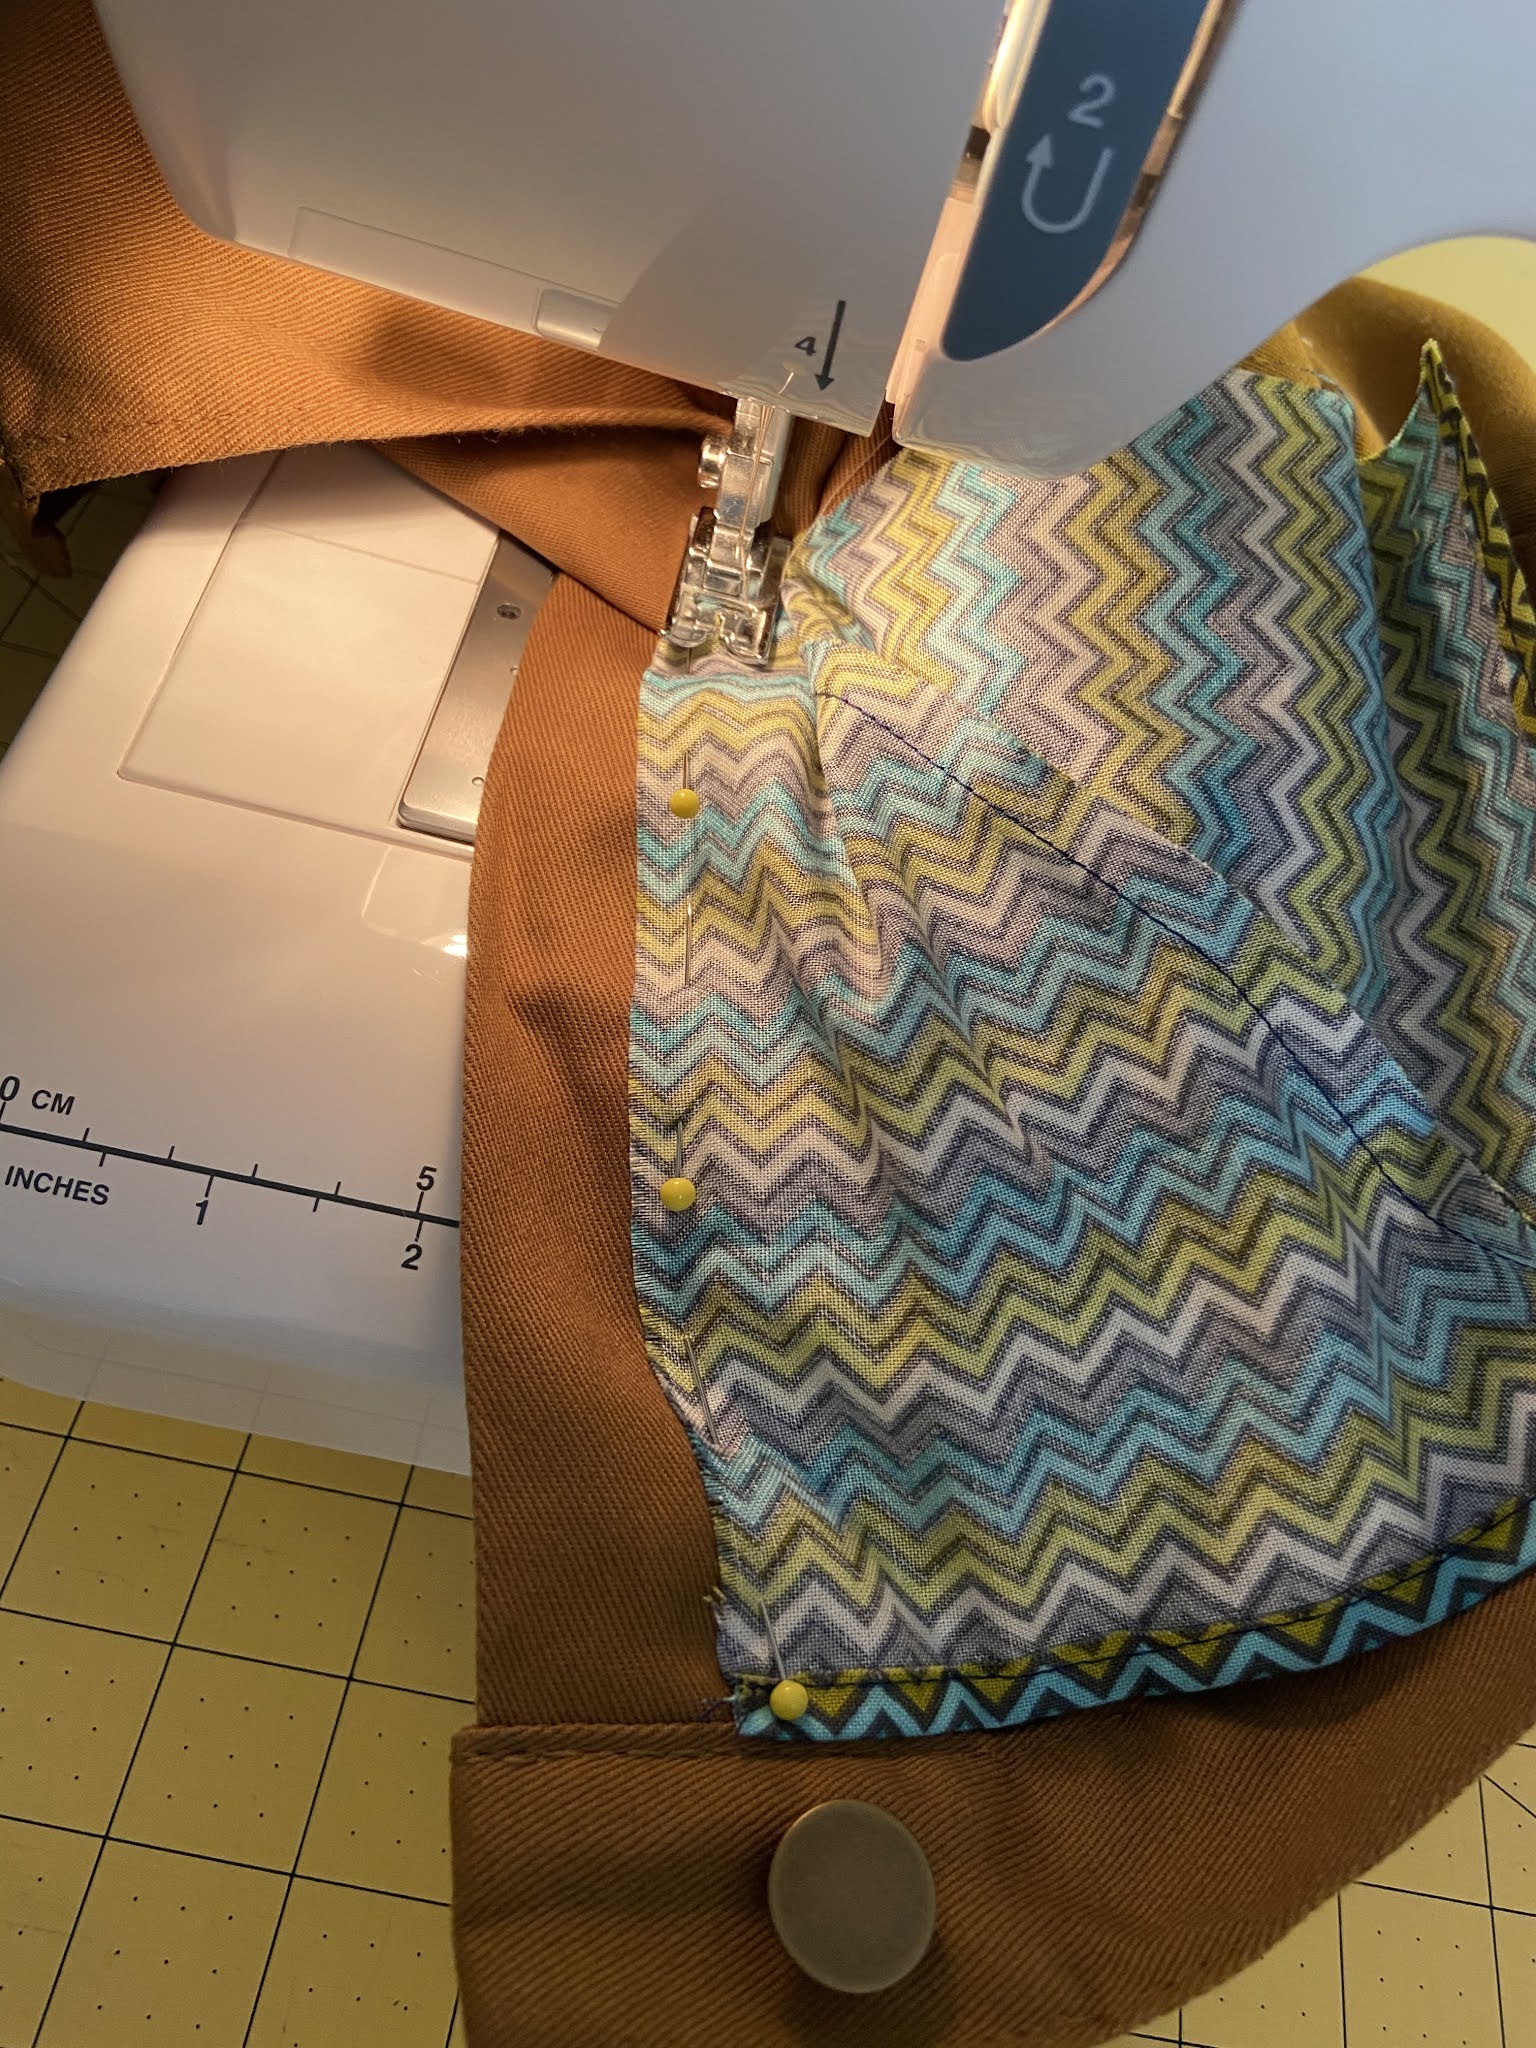
It was a bit tricky to insert it as the seams at the bottom were really thick. I managed to attach this to the front and back which nicely protects my modesty.

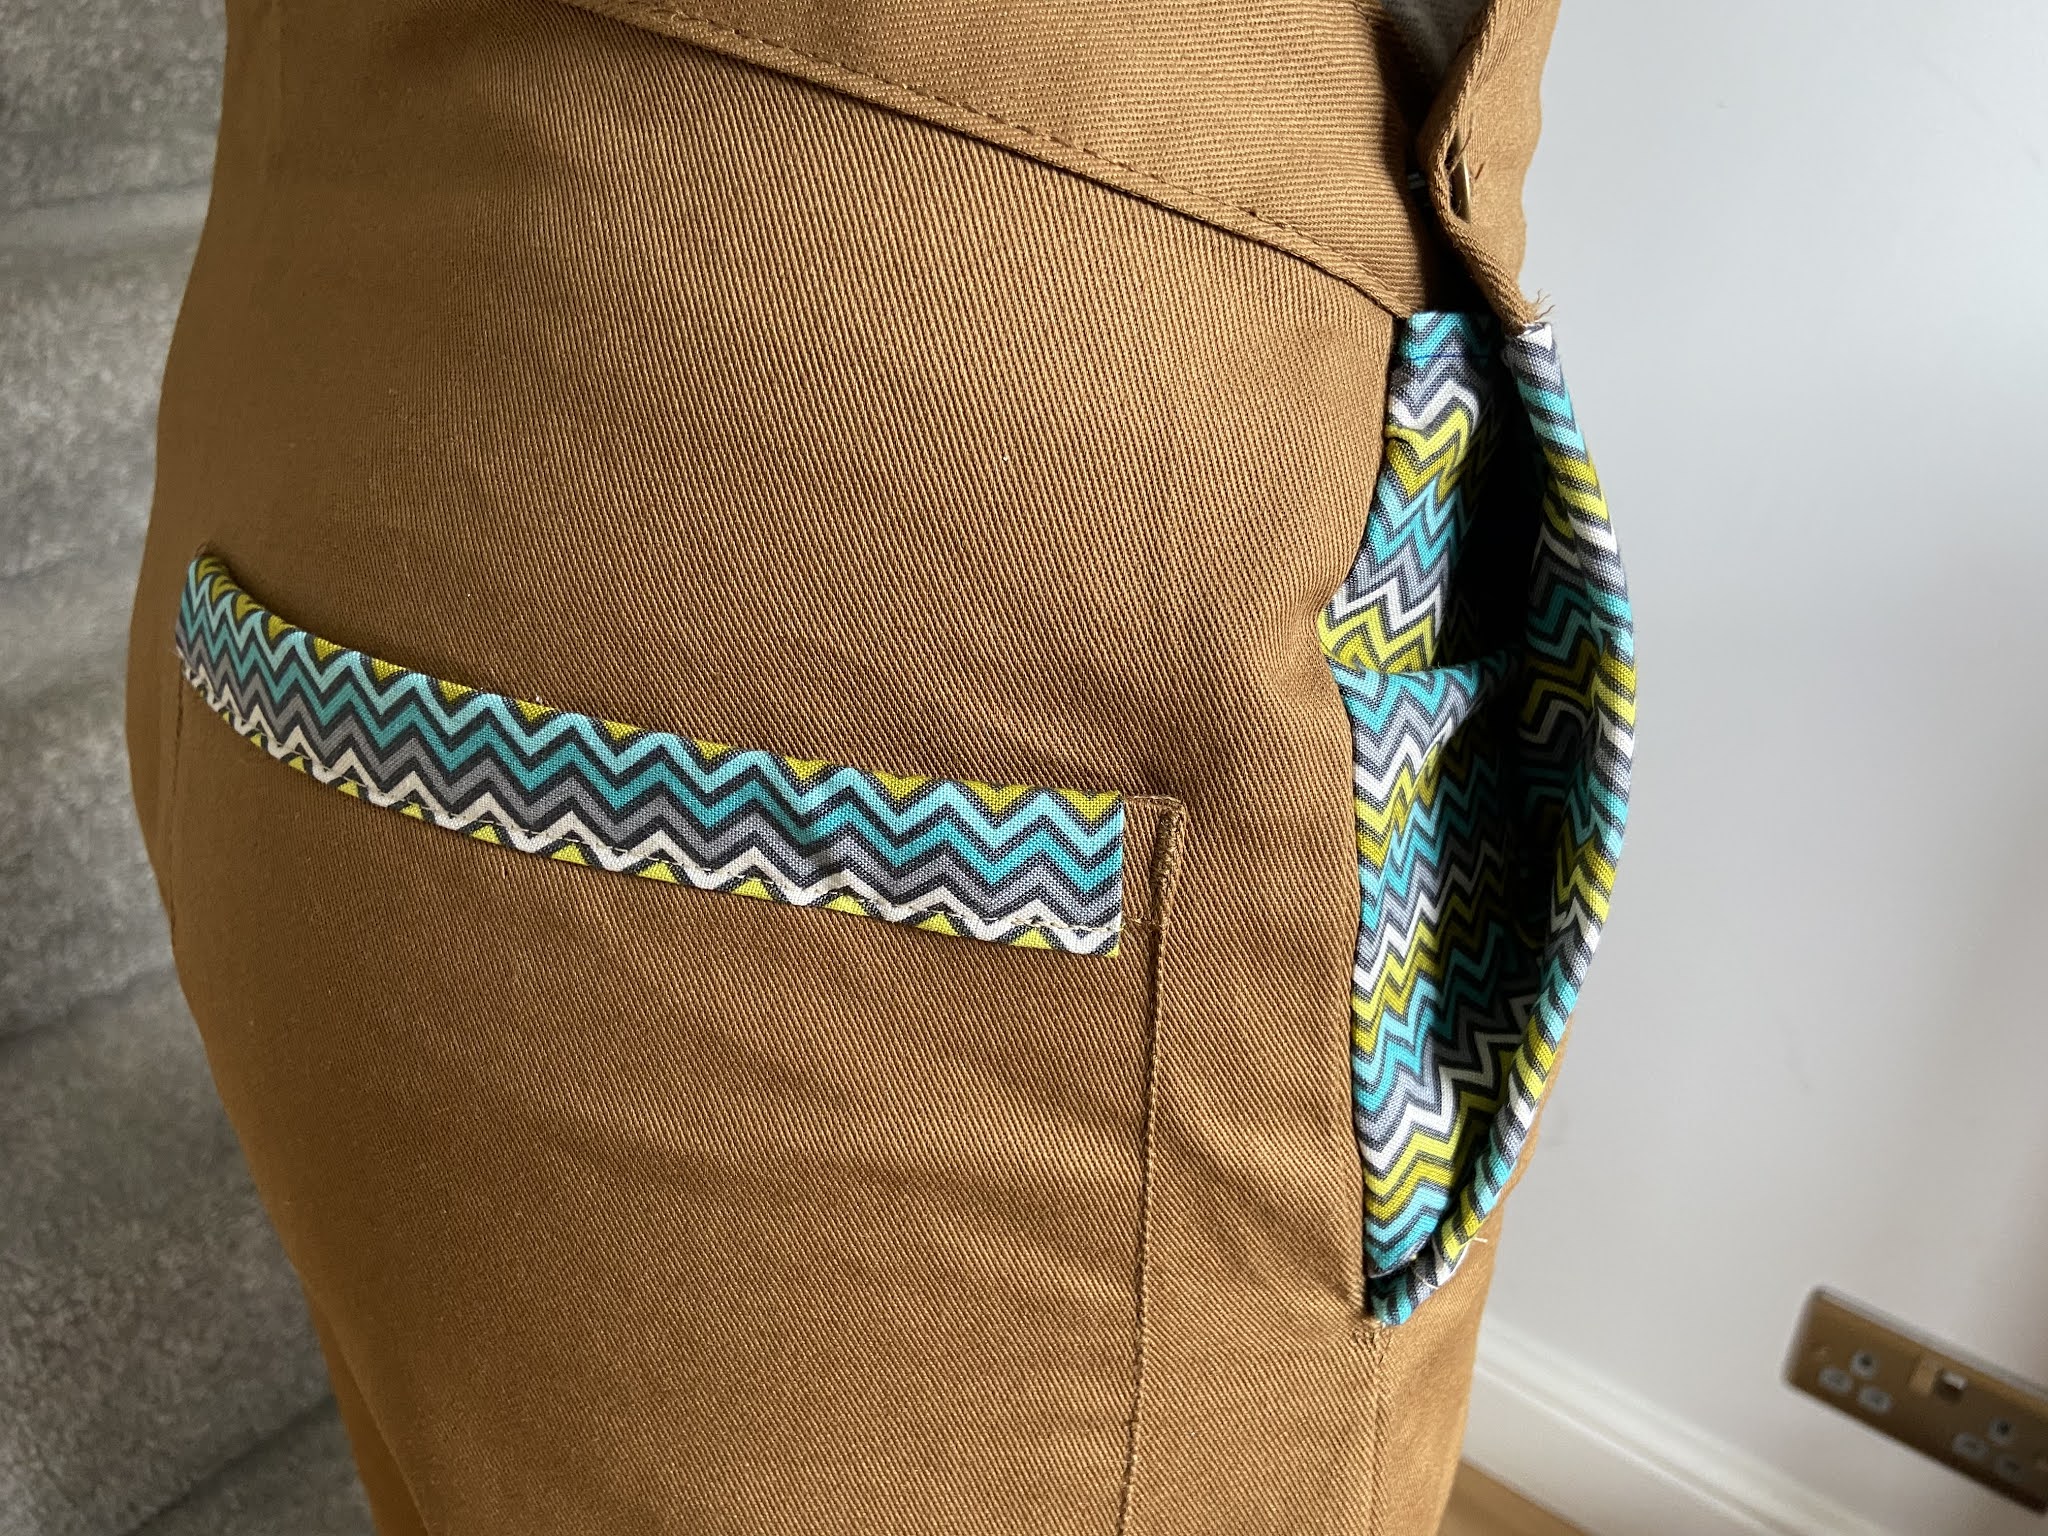
The thing that I wasn’t hugely impressed with once I’d done this was that as much as I tried to sew the front seam as neatly as possible and matched the tread up as well as possible you could still see the seam more than I would have liked.
The best way I could see to fix this was to add some binding to the edges to hide the seams. I cut a piece for each side.
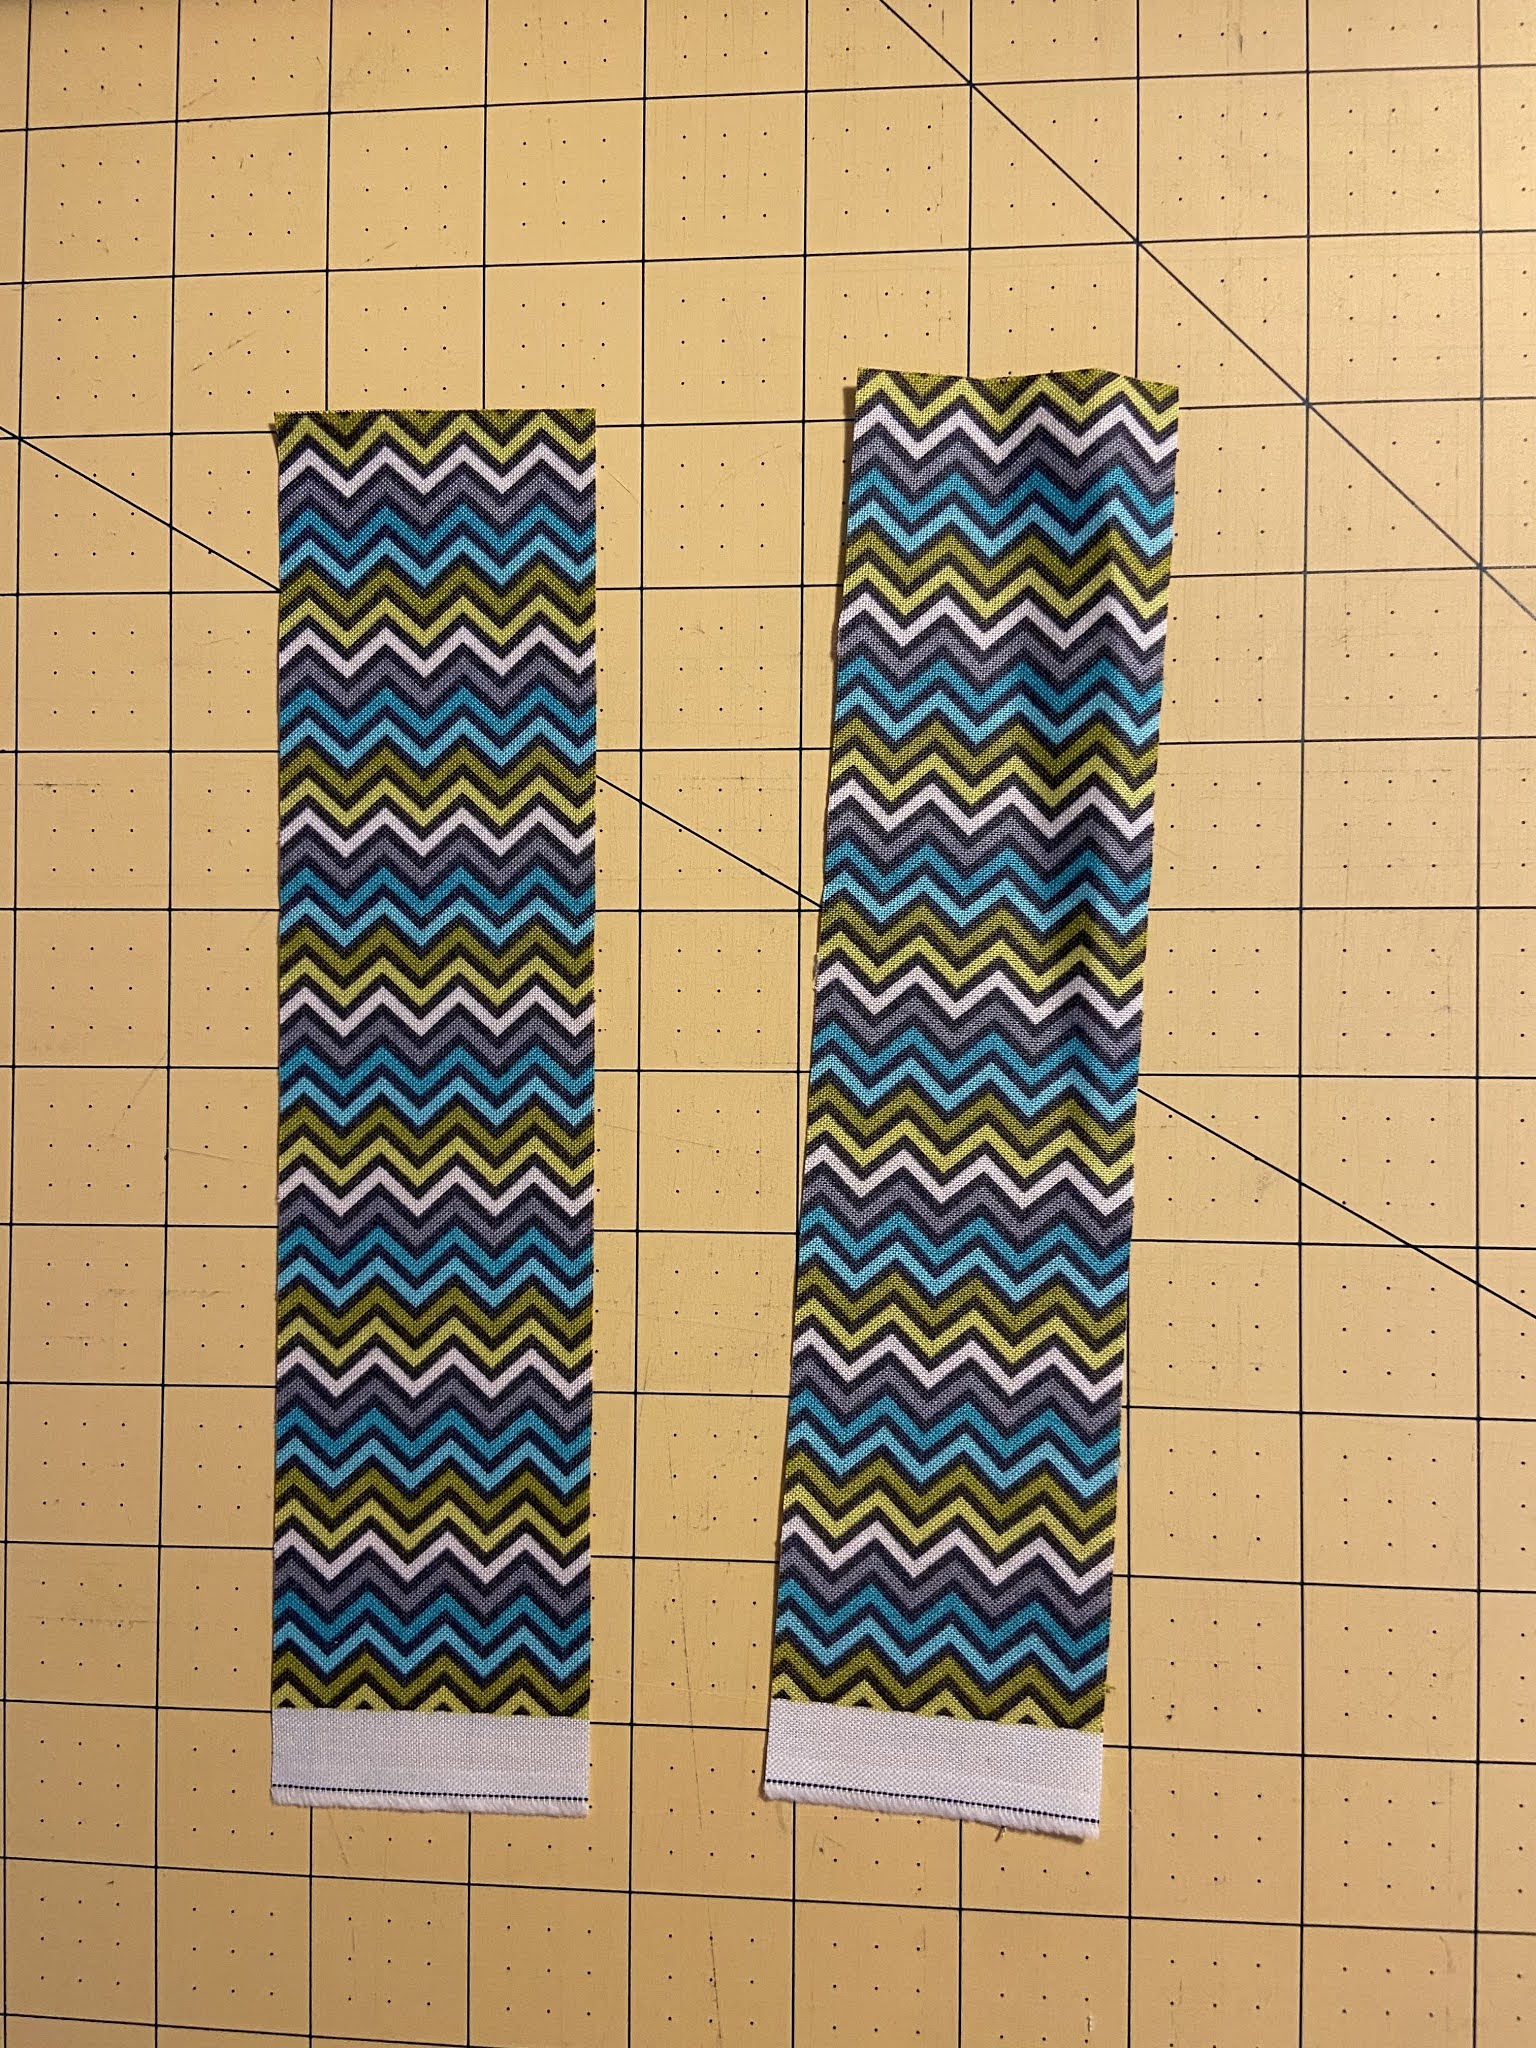
I hemmed the ends and then pinned it to the edge I wanted to cover. Again this was tricky because of the thickness of the fabric and seams that I was working around.


I then folded it round to the front to top stitch it onto there (hopefully less visibly that the seam I was trying to cover)

I don’t think I did too bad.

I liked the way that this had come out so much that I wanted to add a little something else to my new trousers. I wasn’t too sure what to do as I didn’t want to overdo it but I thought an additional piece of binding on the back pocket would accent this nicely and fit in with the sides to make them look more intentional and less like I was just trying to hide my pants!


I didn’t know how I was going to do this at all but I soon discovered that I could remove most of the base bit of my sewing machine and kind of put it in the pocket to stitch it on. This was a one chance deal - no stitching to the inside first to keep it in place as I definitely couldn’t do this on my machine. I just folded the binding around and went for it.

I’m pretty happy with that.

And here they are - my brand new dungarees - sort of made by myself. I’m really pleased with how they have come out and now I have an extra pair of trousers that I can fit my lockdown belly in!

Fitting for their first outing I wore them to visit my friend at the weekend where we went out for lunch and I treated myself to this incredible slice of white cheesecake for pudding. Yes I couldn’t resist taking a bit before I took the photo - it was soo good!

The thing entry’s I think is the real achievement from this is that my mate didn’t ask what I was doing wearing these trousers or make any comment about them looking homemade or anything. I take that as a win!


Comments
Post a Comment